RC setup

Before connecting and calibrating the RC, make sure that:
- There is no battery connected to the drone.
- The propellers are not mounted.
Connecting the RC transmitter
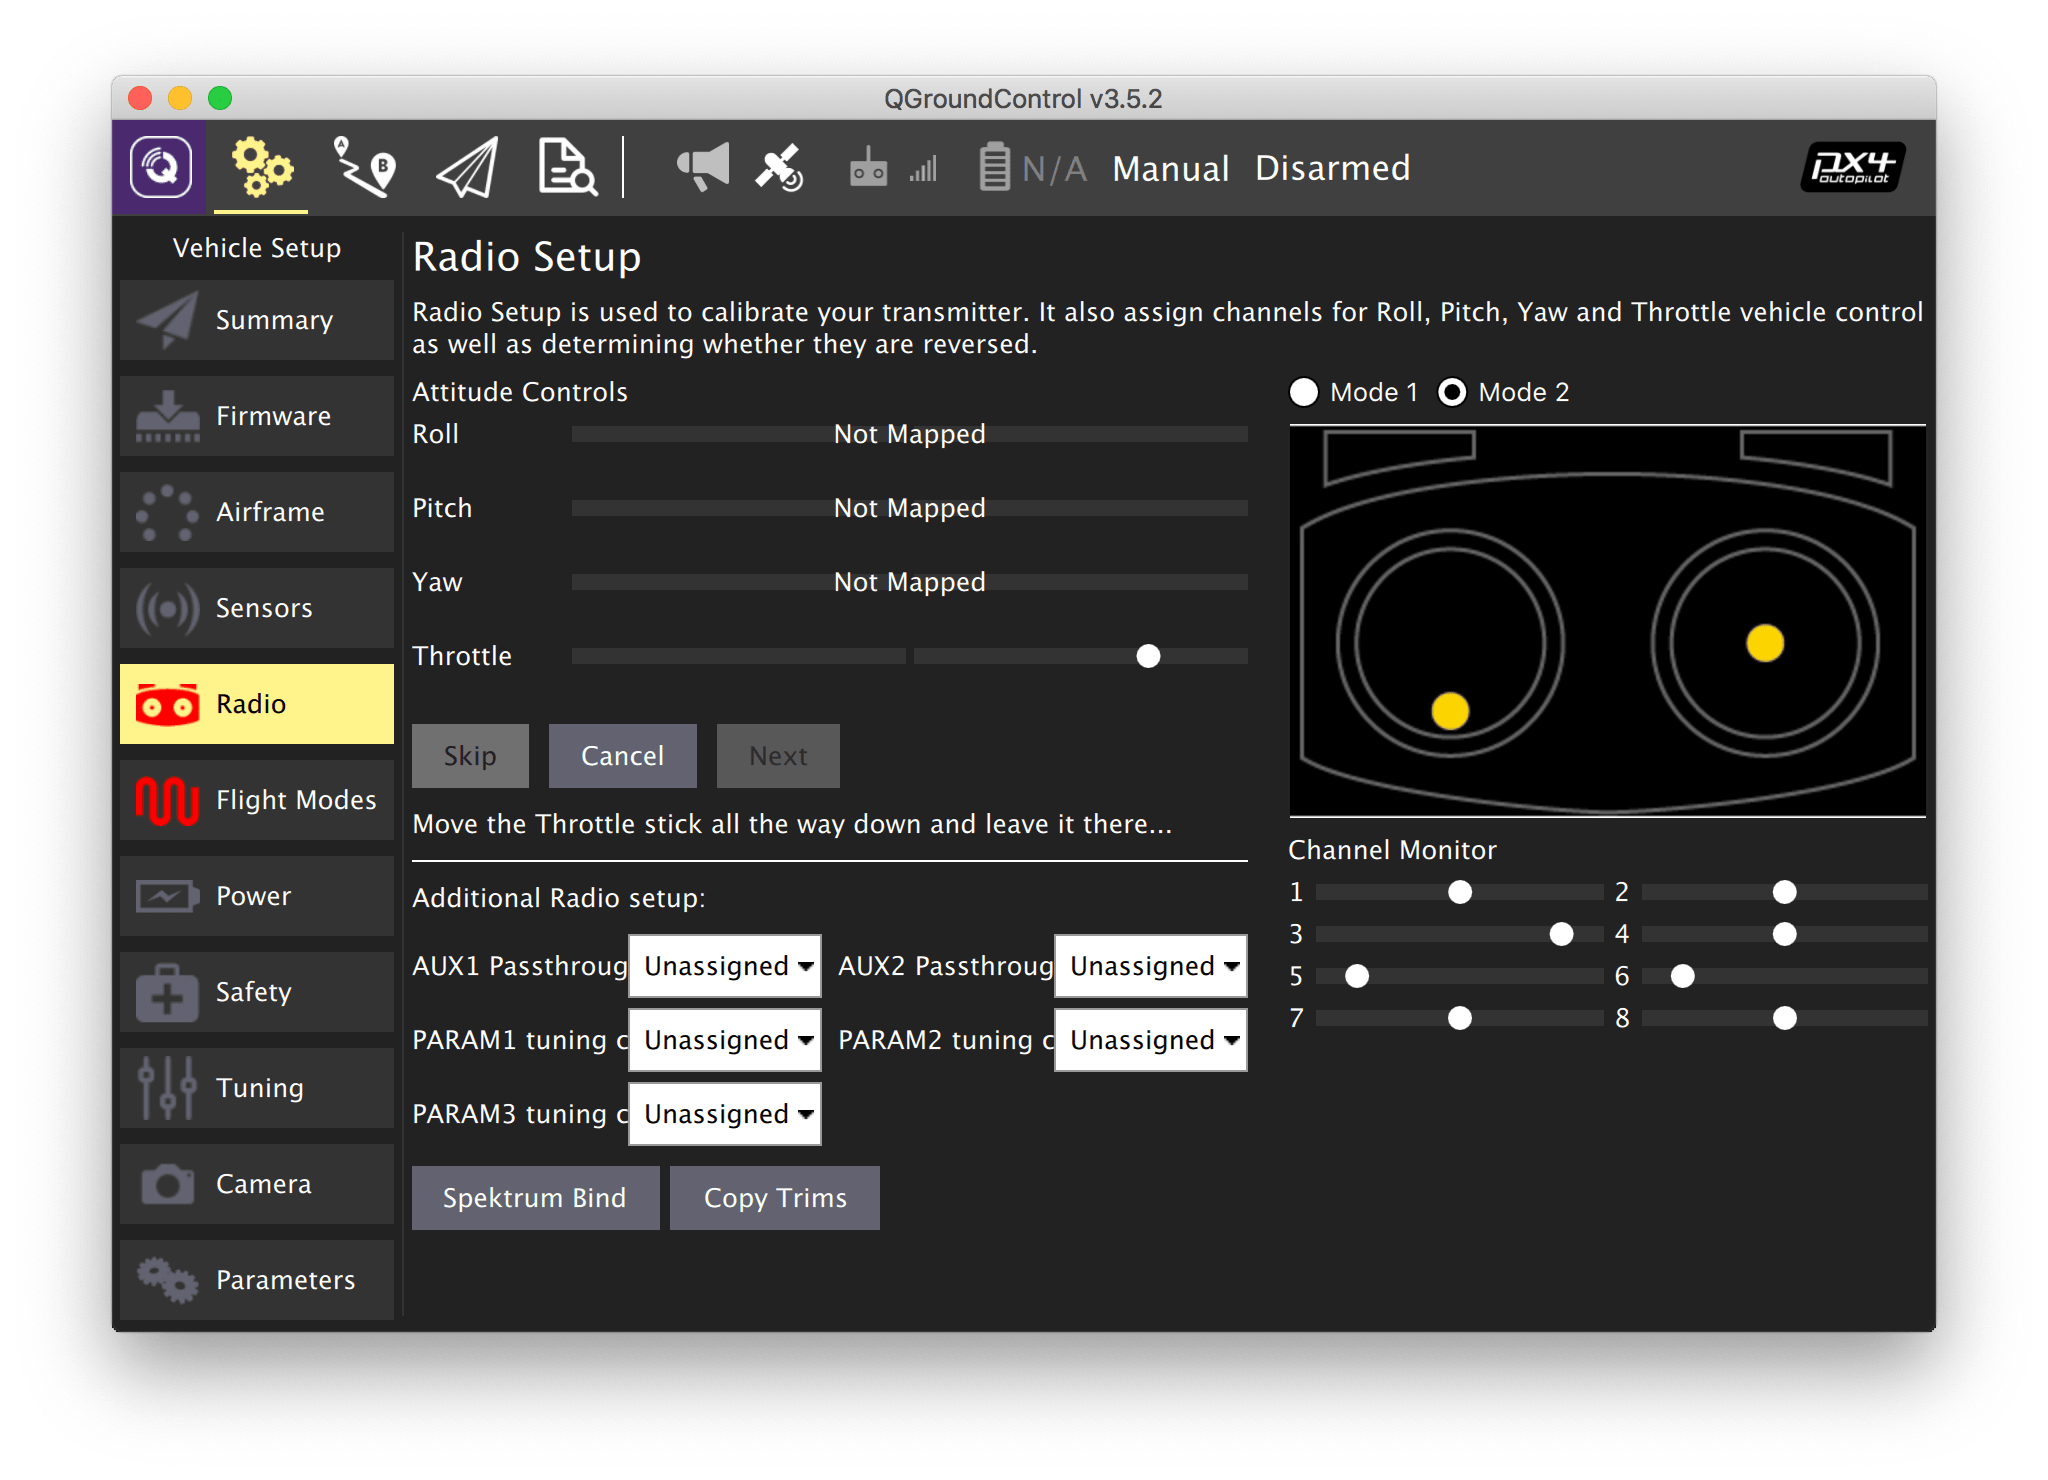
In QGroundControl software, go the Vehicle Setup panel and choose the Radio menu.
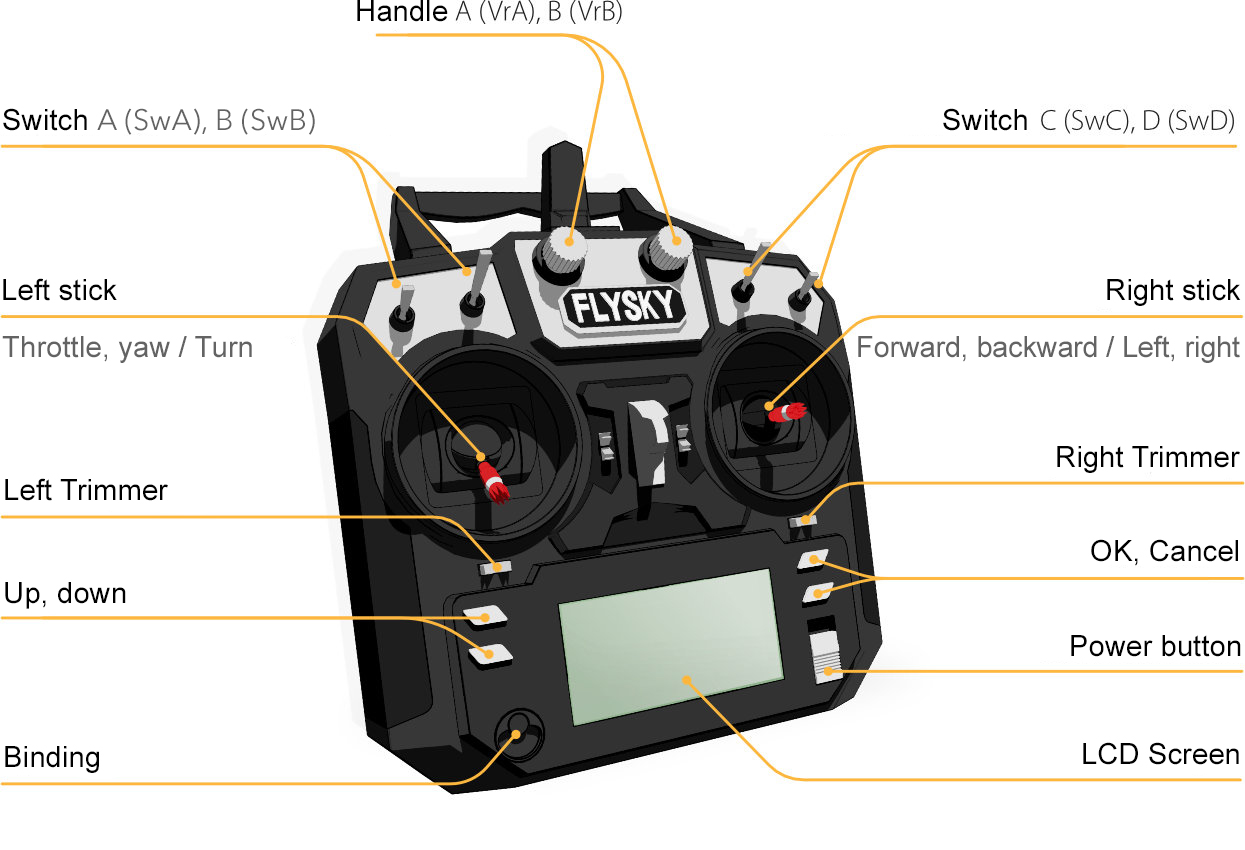
Power on the transmitter by sliding the POWER slider up.
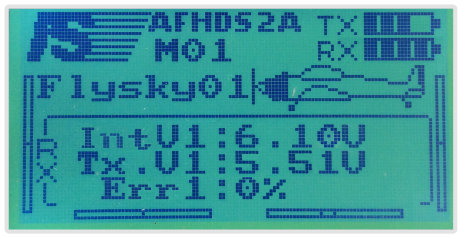
Make sure the transmitter-receiver link is working.
The transmitter LCD screen should display the connection:

The LED on the receiver should glow steadily. Read the radio troubleshooting article if the link does not work.
Transmitter calibration
Press the Calibrate button.
Set the Throttle, Yaw, Pitch, and Roll trims to 0
- Trims are small constant offsets applied to a control in order to make your drone fly correctly.
- Move the trimming slider to the center using trimming buttons until you hear a long beep. Do this for each axis.
Press OK in QGroundControl.

Place the left stick (throttle) in the bottom position and press Next.
Place the sticks in positions requested by QGroundControl.
When you get the "Move all transmitter switches and/or dials back and forth to their extreme positions" instruction, move all switches and dials to their extreme positions.
Press Next.
When you get the "All settings have been captured. Click Next to write the new parameters to your board", press Next.
Further reading: https://docs.qgroundcontrol.com/en/SetupView/Radio.html
Next: Flight modes.
