How to use a multimeter?
Check the circuits (continuity test)
WARNING
The tested object should be disconnected from the power supply (de-energized)!
Using a multimeter, check the absence of a short circuit (check the loop):
- Set the multimeter to the loop check mode.
- Test the multimeter by shorting the probes. A unit that operated properly makes a distinctive sound.
- The red probe is connected to the “+ ”pin, the black probe — to the “-” / ”GND” pin. If the circuit is short, a sound is heard.
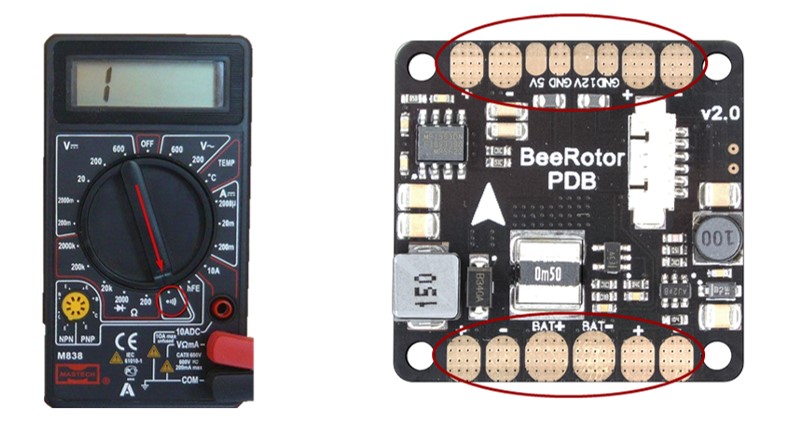
1. Check OPEN CONDITION of the following circuits (absence of the multimeter sound signal):
- “BAT+” and “BAT-”
- “12V” and “GND”
- “5V” and “GND”
2. Check CLOSED CONDITION of the following circuits (presence of the multimeter sound signal):
- “BAT-” with every contact marked “-” and “GND”
- “BAT+”, with every contact marked “+”
Checking for voltage
Using a multimeter, you need to make sure that the voltage converters located on the power distribution board are working properly and provide the voltage of 5V and 12V, respectively.
- Switch the multimeter to the "Measuring DC voltage" mode
- Select the upper limit of the measured voltage (in our case, not more than 20)
- Make sure the battery is connected
- Make the following measurements:
- Measure the battery voltage (between BAT+ and BAT-). It should be between 14.0 V to 16.8 V
- Measure the voltage at the 5V output. It should not exceed 5.5 V
- Measure the voltage at the 12 V output. It should not exceed 12.5 V
After measurement:
- disconnect the battery
- turn off the multimeter