Creating a virtual network ZeroTier One and connecting to it
Creating and configuring a ZeroTier network
Go to ZeroTier website.
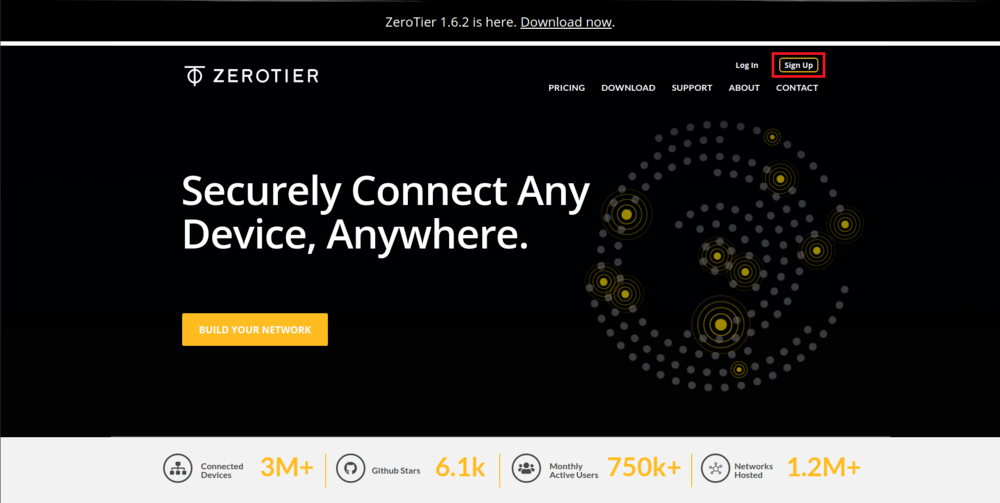
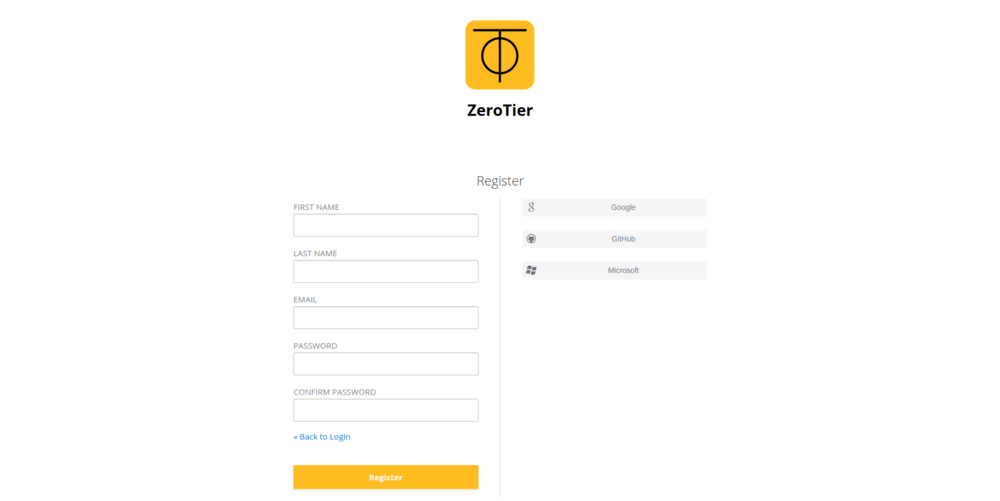
Sign up on ZeroTier.
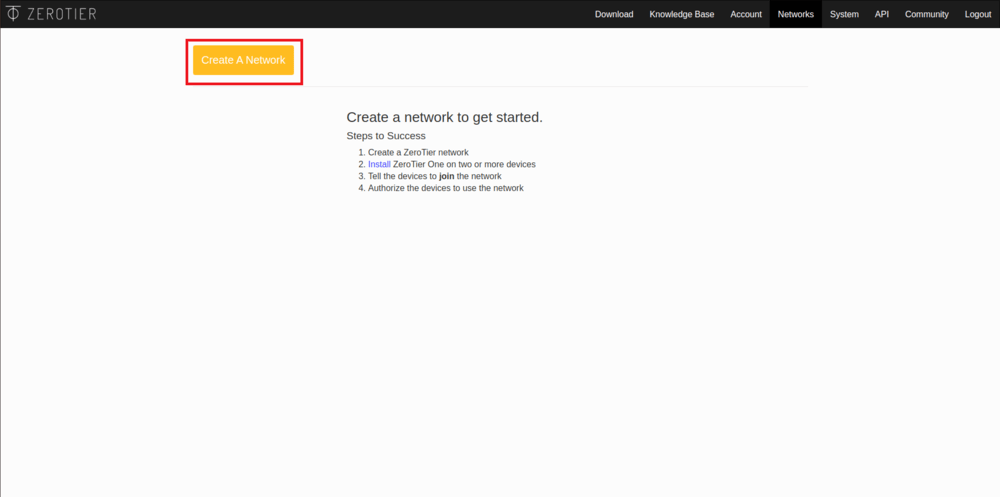
Go to your account.
Click on the Create A Network.
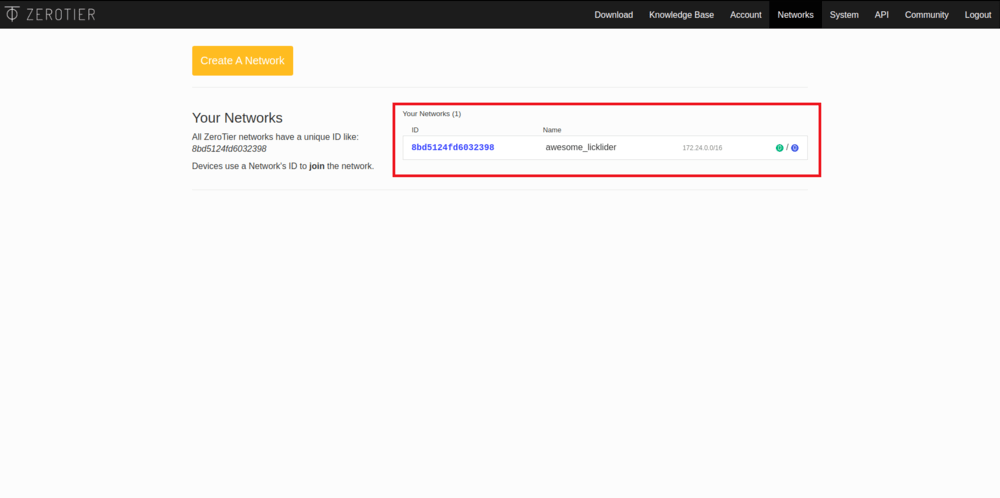
After that, you will see the network you created, its ID and name. Click on the network to configure it.
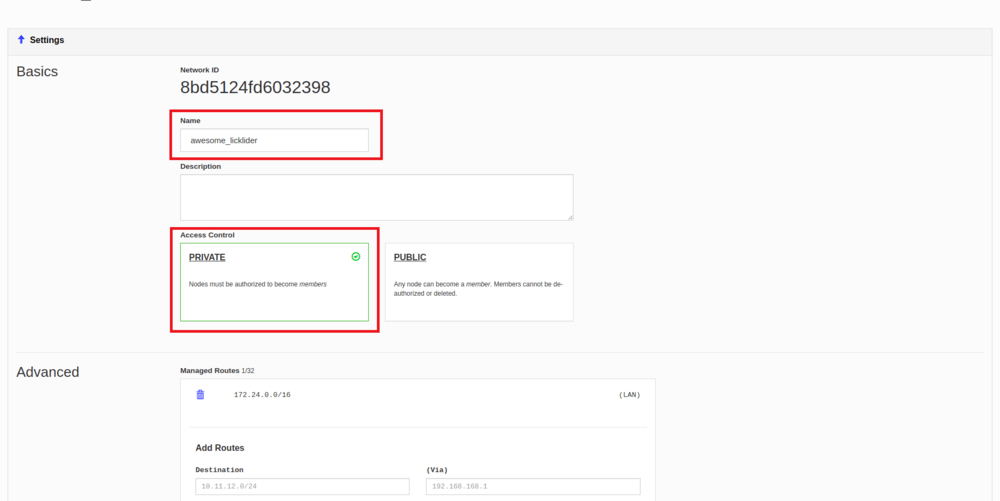
In the window that appears you can change the network name and connection privacy.
Scroll down to the Members column. It will say that there are no users on the network.
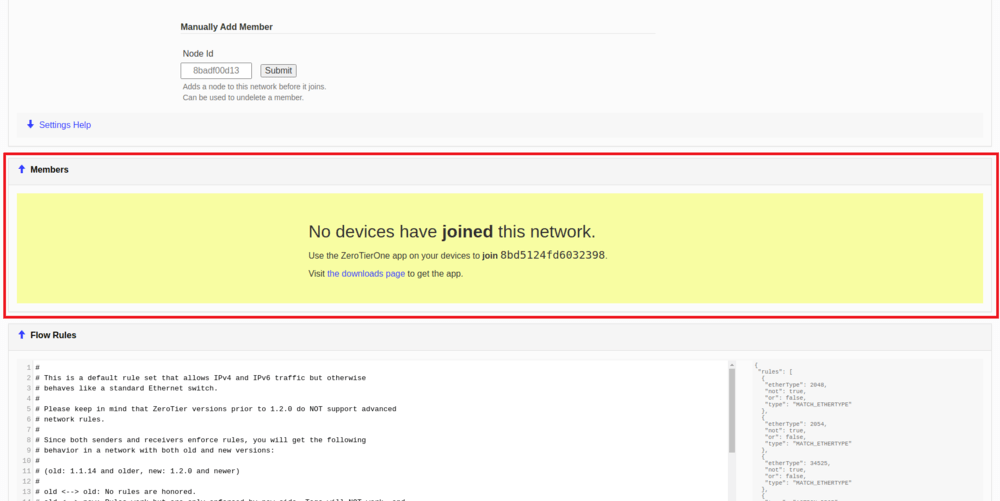
Devices connected to the network will be displayed in this column. To allow them to connect to the network, activate the Auth? checkbox. The connected device will automatically be given an internal IP address, which will then be used to communicate with this device.
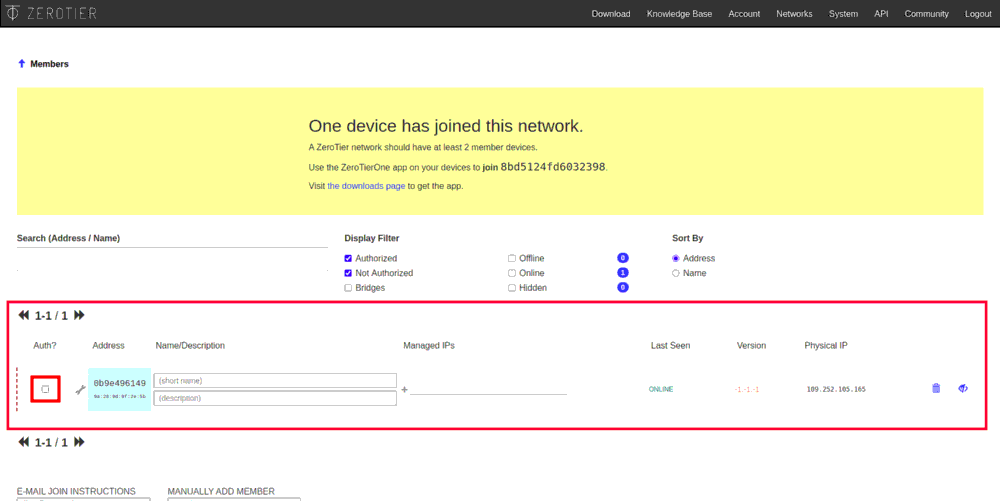
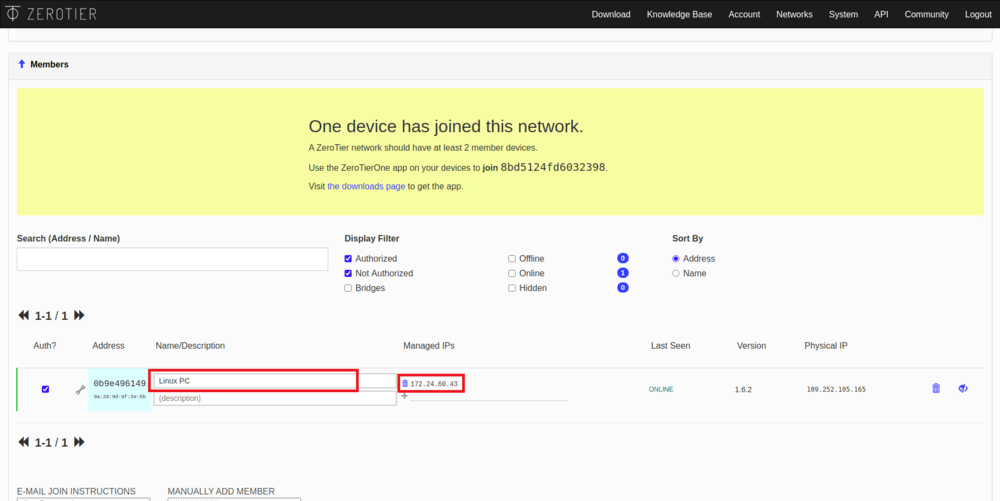
Hint specify names for new devices, it will help you distinguish them from each other in the future.
Repeat the last step for all the devices that you want to connect.
Info ZeroTier network supports up to 50 users simultaneously for free use.
Setup on Windows
Installing the app
Go to the ZeroTier website.
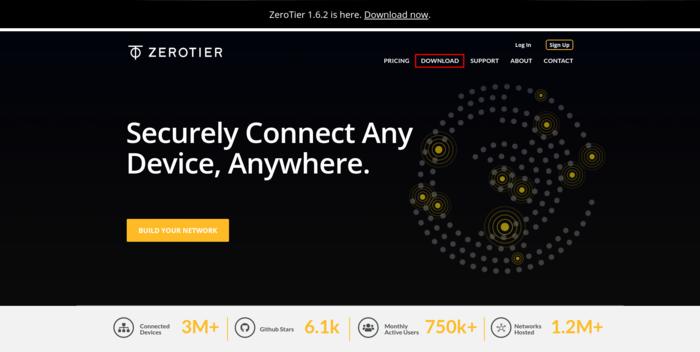
Click on the Windows icon.
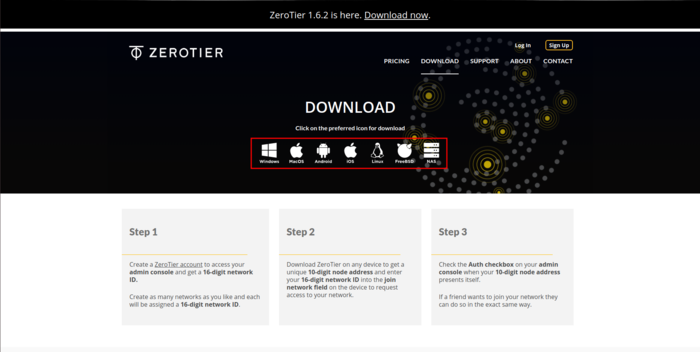
Download and run the
ZeroTier One.msifile.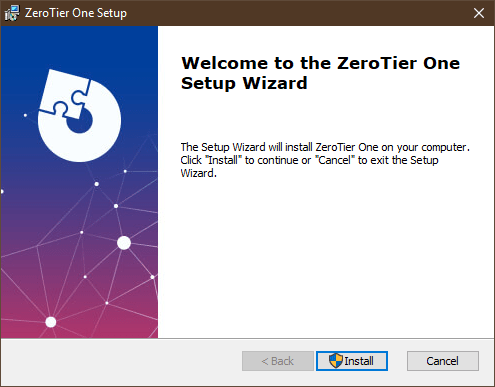
Network connection
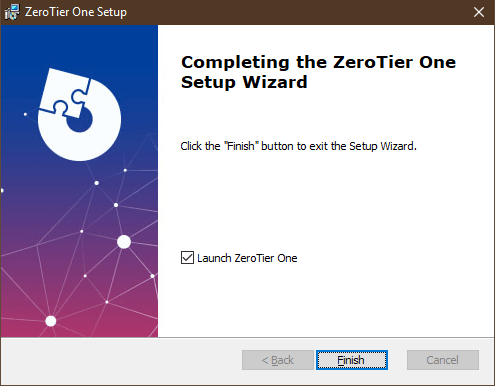
Run ZeroTier One.
Click on the ZeroTier One icon in the taskbar.
Click on the Join Network... to connect to the network.
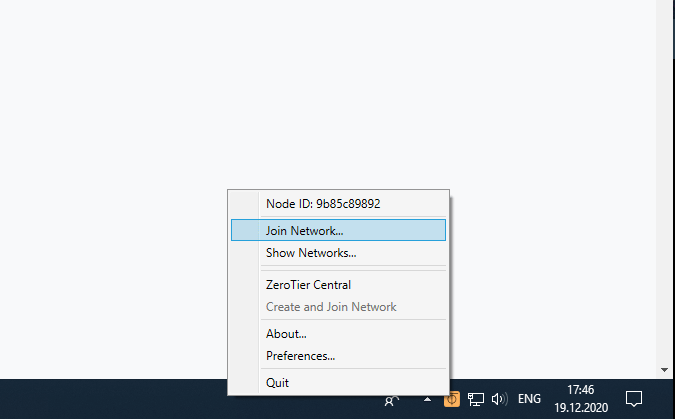
In the window that appears, enter your network ID and click Join.
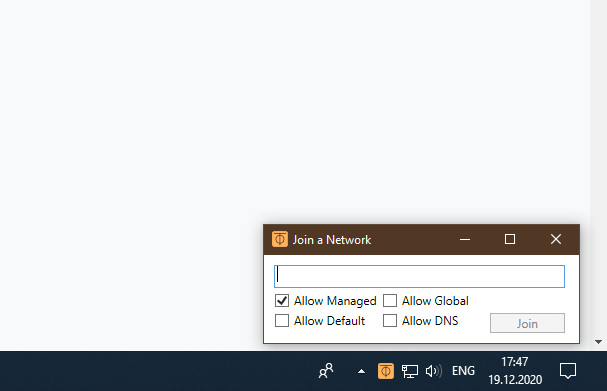
Allow using the new network.
Setup on iOS
Installing the app
Go to the ZeroTier website.

Click on the iOS icon.

Install the ZeroTier One app.
Network connection
Run ZeroTier One app.
Click on + to add a new connection.
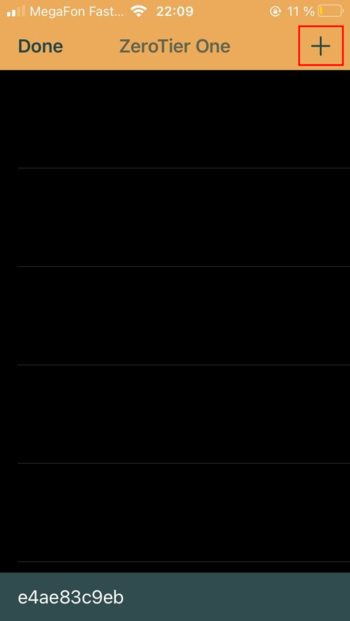
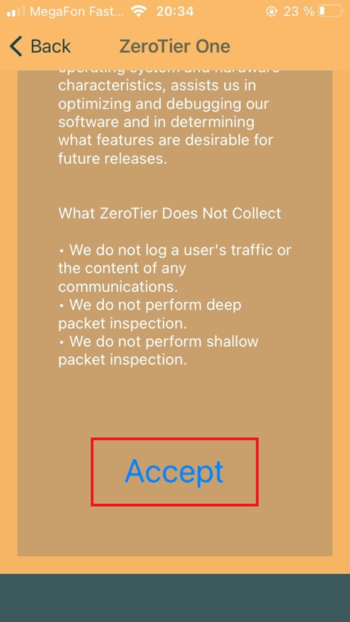
Confirm the privacy policy.
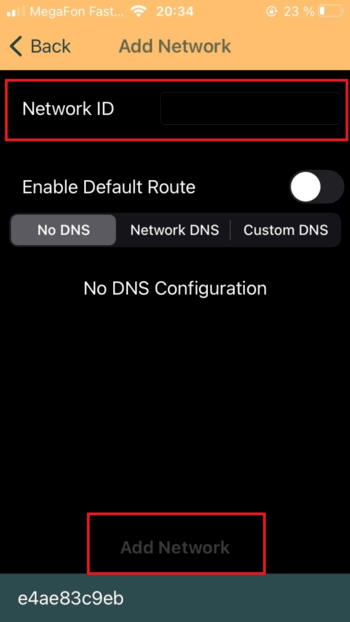
Enter your network ID and click Add Network.
Confirm adding the new VPN configuration.
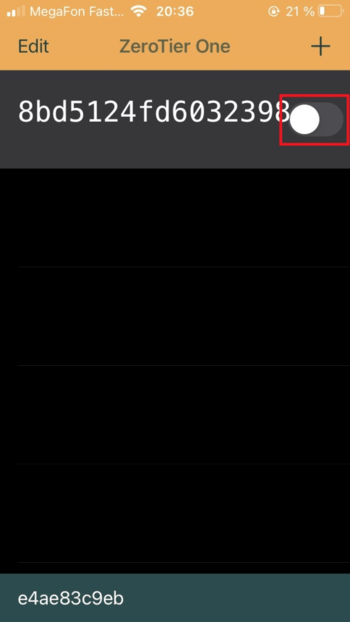
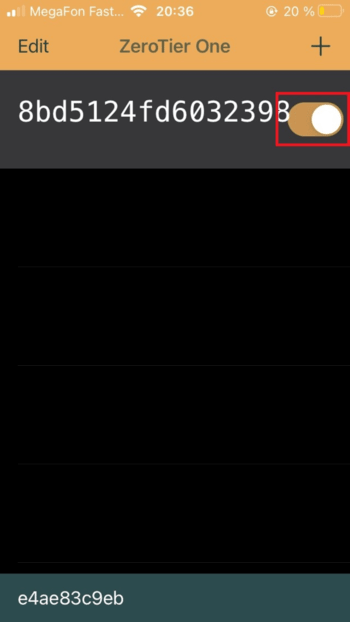
Connect to the VPN network by sliding the network activation slider.
Setup on Linux (PC, Raspberry Pi)
Installing the app
Open the console by pressing the keyboard shortcut ctrl + alt + t or type terminal in the program search bar.
Enter the ZeroTier installation command.
curl -s https://install.zerotier.com | sudo bash
Network connection
Open the console.
Enter the command
sudo zerotier-cli join network-id, wherenetwork-idis your network ID.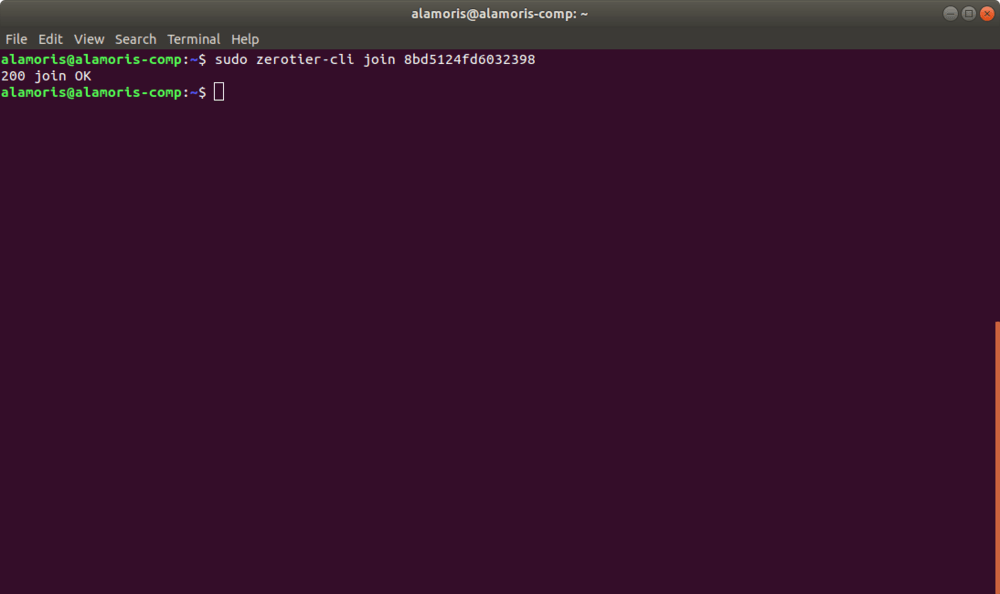
If the connection is successful, the corresponding message will be displayed in the console.
Installing and configuring on macOS
Installing the app
Go to the ZeroTier website.

Click on the macOS icon.

Download and run
ZeroTier One.pkgfile.Install the ZeroTier One app.
Network connection
Run ZeroTier One app.
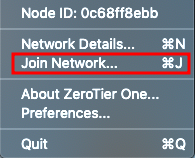
Click on the ZeroTier One icon in the taskbar .
In the window that appears, click on Join Network....
In the Enter Network ID field, enter your network ID.

Connecting to the copter
Make sure that ZeroTier is working and connected to the network on the drone and control device. To do this, make sure that these have an Online status.
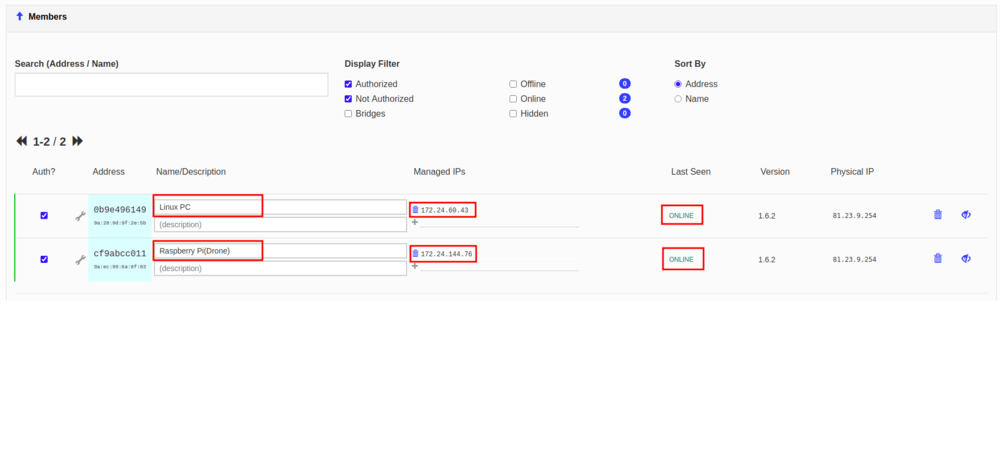
Make sure that all devices have local IP addresses - Managed IPs.
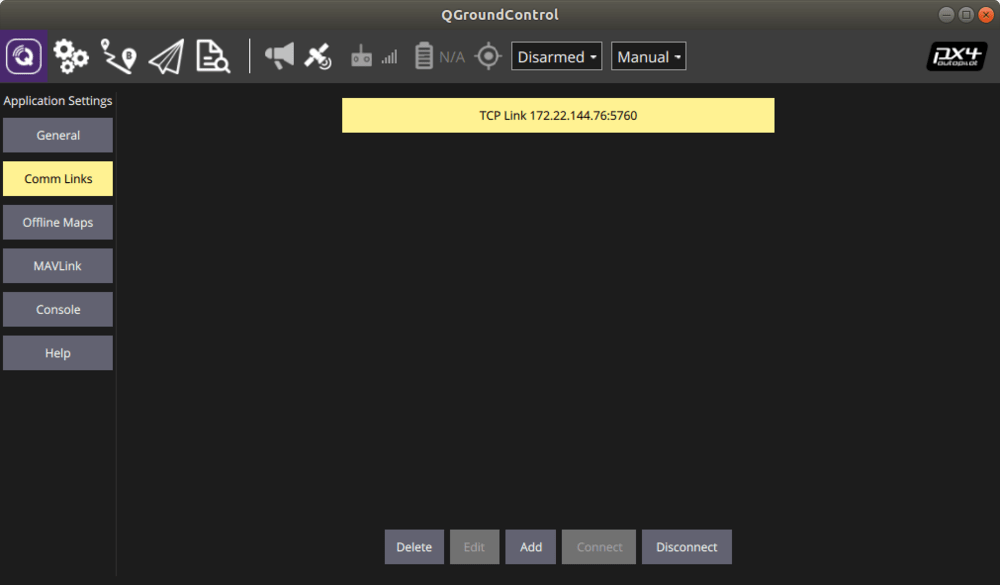
Open GQC and in the Comm Links tab add a TCP connection specifying the IP of the drone. Read more about remote connection here.
