An Android transmitter
As early as in the frosty January 2018, all owners of Apple mobile devices got a nice Wi-Fi piloting app for iOS. And now, a year later, such an application is available for another operating system. The latest version may be downloaded here.
Introduction
In this article, I will tell you how to write your own or modify an existing transmitter for Android yourself. We will use the popular language Kotlin, and we will use Android Studio for an IDE. For those who never used it, I recommend reading the following materials. The entire application code can be found here. If you want to immediately get an app to further tuning, run the following command:
git clone https://github.com/Tennessium/android
However, to make you fully understand the application, I will tell you about each stage of the project, as if you were building it from scratch.
Wrapper
Let's start with the simplest thing — the appearance of our application. At GitHub, you can find HTML, CSS and JavaScript files, which make up the web page to be used for controlling the copter. To have this page displayed in our application, do the following:
Create folder assets in the main folder of the app named app
Add to it all files from here
If you reached this stage, you already have the web page you want, congratulations! Now we have to display it somehow in the app. To do this, in class activity in method onCreate, write the following code:
main_web.loadUrl("file:///android_asset/index.html")
Where main_web is the ID of your WebView, which is in the xml file of the activity selected by you.
Unfortunately, the quadcopter transmitter requires the entire screen of the device, while the interface elements of the system interfere with full-fledged use of the program. For this purpose, at the beginning of method onCreate, call the following function:
private fun fullScreenCall() {
	window.setFlags(WindowManager.LayoutParams.FLAG_FULLSCREEN, WindowManager.LayoutParams.FLAG_FULLSCREEN)
	if (Build.VERSION.SDK_INT < 19) {
		val v = this.window.decorView
		v.systemUiVisibility = View.GONE
	} else {
		//for higher API versions.
		val decorView = window.decorView
		val uiOptions = View.SYSTEM_UI_FLAG_HIDE_NAVIGATION or View.SYSTEM_UI_FLAG_IMMERSIVE_STICKY
		decorView.systemUiVisibility = uiOptions
	}
}
This feature allows getting rid of the system interface elements. Let's go ahead.
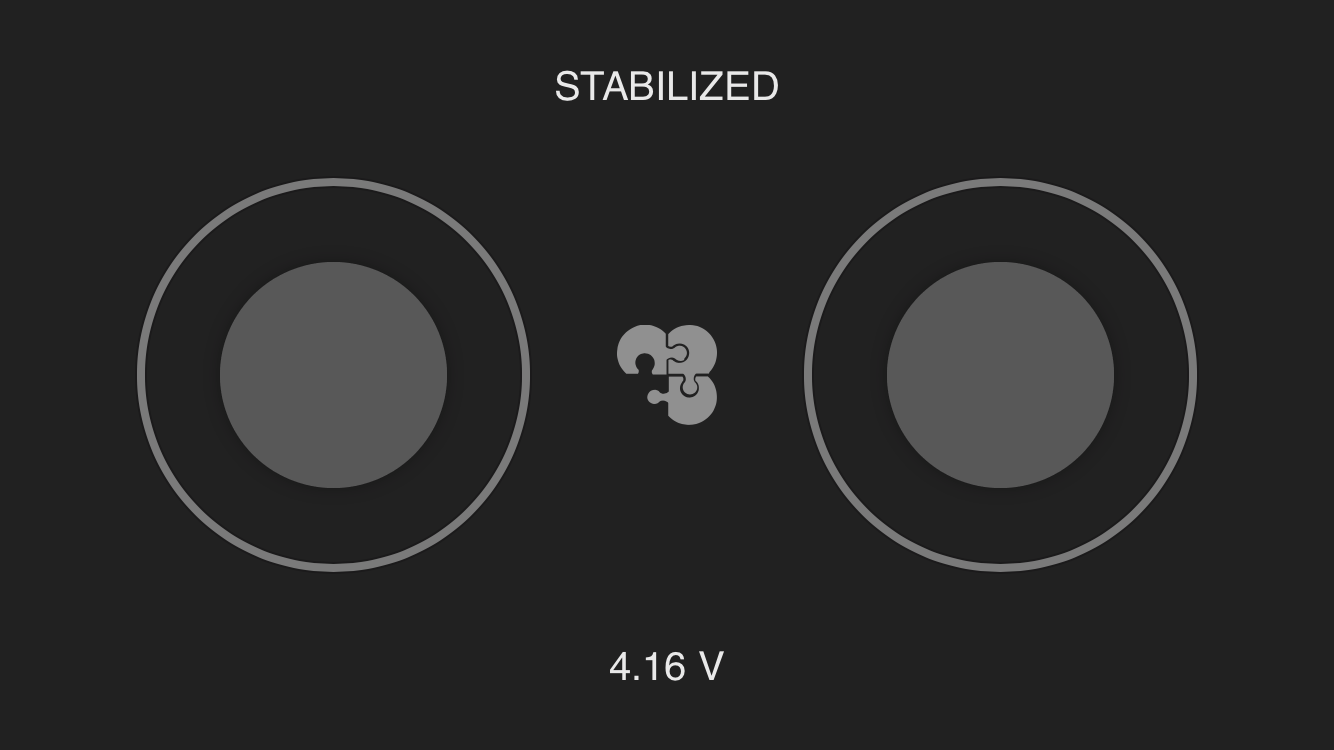
This is how the transmitter looks at this stage:

If you run your application, you will see that the sticks are not functioning. This is due to the fact that JavaScript is disabled in our page. To enable it, write the following code:
	main_web.settings.apply {
	domStorageEnabled = true
	javaScriptEnabled = true
	loadWithOverviewMode = true
	useWideViewPort = true
	setSupportZoom(false)
}
This piece of code allows the page to use JavaScript and at the same time prepares for the next stage - logics.
Receiving data from the web page
To let your phone receive data from the HTML page, create a class for interacting with the web interface
class WebAppInterface(c: Context) {
	@JavascriptInterface
	public fun postMessage(message: String) {
		val data = JSONObject(message)
		send("255.255.255.255", 35602, pack(
		data.getInt("x").toShort(),
		data.getInt("y").toShort(),
		data.getInt("z").toShort(),
		data.getInt("r").toShort()))
	}
}
This class will receive messages from the web page sent by the postMessage where argument message is the message from the page.
Now we have to link classes WebAppInterface and MainActivity. For this you have to add just one line to method onCreate:
main_web.addJavascriptInterface(WebAppInterface(this), "appInterface")
Sending data to the copter
Important! For working in Internet in the Android platform, add the following line to tag manifest in file AndroidManifest.xml:
<uses-permission android:name="android.permission.INTERNET"/>
It will grant your application access to the Internet, and the ability to send data via Wi-Fi. And you will now learn how to do that. Let's go ahead.
You have probably noticed function send in class WebAppInterface. It is this function that sends data to the copter. Let's declare it outside classes:
fun send(host: String, port: Int, data: ByteArray, senderPort: Int = 0): Boolean {
	var ret = false
	var socket: DatagramSocket? = null
	try {
		socket = DatagramSocket(senderPort)
		val address = InetAddress.getByName(host)
		val packet = DatagramPacket(data, data.size, address, port)
		socket.send(packet)
		ret = true
	} catch (e: Exception) {
		e.printStackTrace()
	} finally {
		socket?.close()
	}
	return ret
}
This function sends data via the user datagram protocol to the copter. The program sends bytes, so it would be a good idea to declare the function for creating an array of bytes from four variables:
fun pack(x: Short, y: Short, z: Short, r: Short): ByteArray {
	val pump_on_buf: ByteBuffer = ByteBuffer.allocate(8)
	pump_on_buf.putShort(r)
	pump_on_buf.putShort(z)
	pump_on_buf.putShort(y)
	pump_on_buf.putShort(x)
	return pump_on_buf.array().reversedArray()
}
Summary
Now your app has the full functionality of its analog for iOS. You can customize it as you wish. For any questions about the app, contact us in Telegram @Tenessinum.
